Top 10 recording tips

Top 10 tips for recording

Unfortunately we aren’t all millionaire record producers who can afford to rent out a studio for a month. However with recording equipment being ever more affordable we can all make music wherever we want, whenever we want. 

Whether you are new to the world of recording or you’ve been around for a while it’s always useful to refresh your skills and remember the basics. There are few things that you can keep in mind while recording to get your track from good to award winning.

Recording tips Live rooms

1. Influence your ears

Nirvana nevermind album cover

Everyone has that record that they hold above all else. Whether its Nirvana’s Nevermind or Fleetwood Mac’s Rumours, everyone has that album that they dream about making. It’s great to dream but you also want a clear idea of what you want your track to sound like.

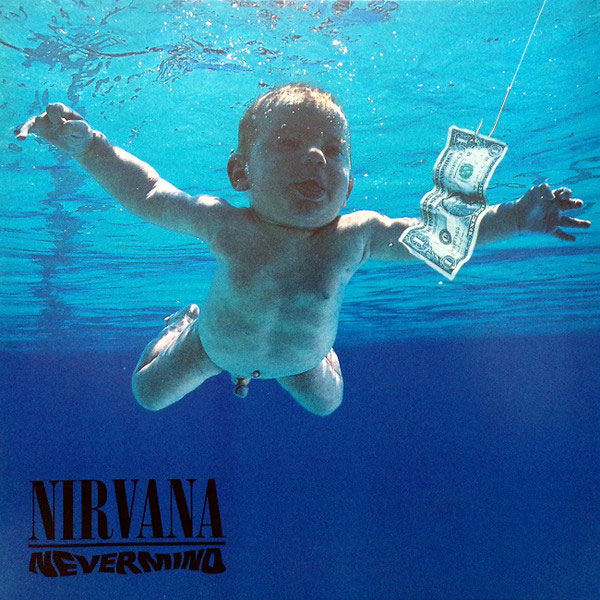
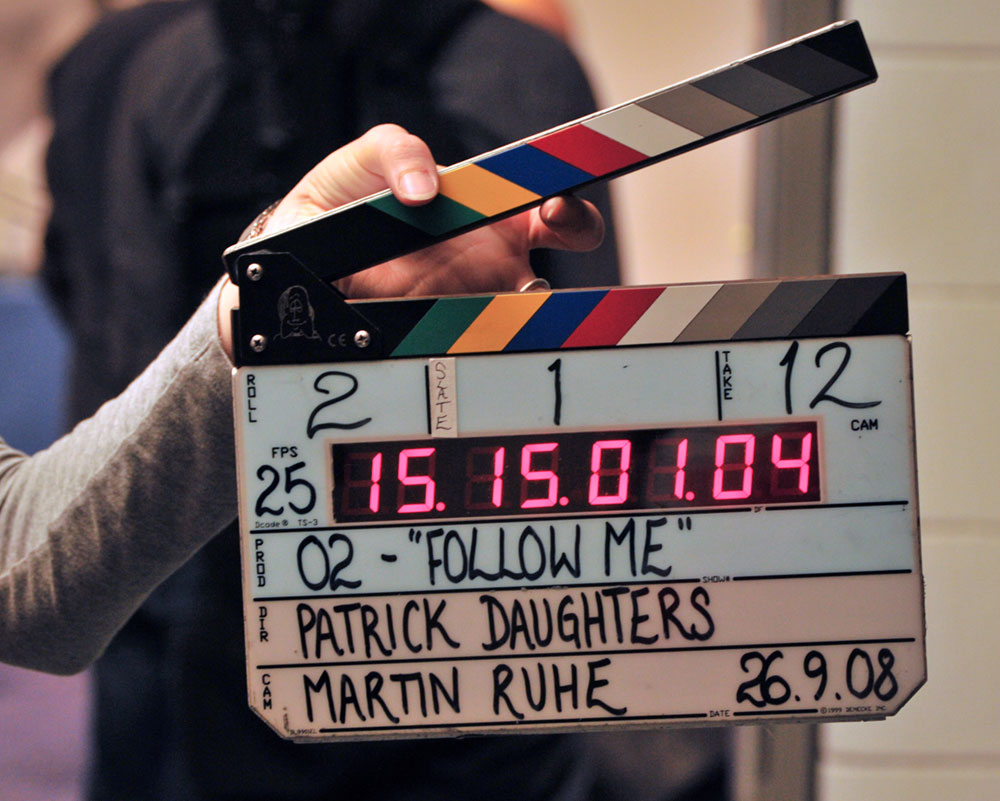
Having a reference track will give you something to aim for in your recording. It will give you a baseline of where to start as well as something to refer back to when recording. You can use it to match a guitar tone, match a bass line, or to enhance your mix with the same effects. You want to carve your tracks sonically and shape them in the image of this track.

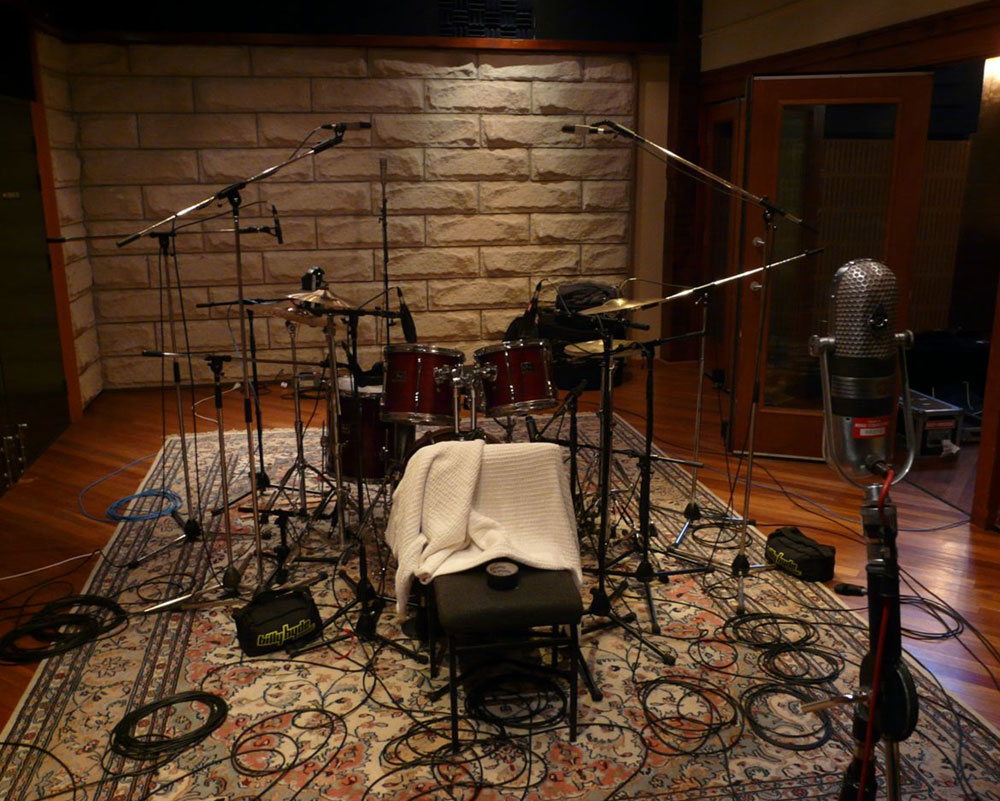
Research of the music can also give you techniques you may not have thought about. From Queen recording vocals into a bucket to get that filtered sound, to Led Zeppelin recording drums in a stairwell to get that perfect echo, there have been many different techniques over the years to make interesting sounds that you can learn from, and use in your recordings.

2. Leave Headroom

It’s true that most of the time loud is better. Everything sounds great when its loud. But recording at a loud level will only cause you problems. No one wants their music to clip or be distorted (unless its intended like guitars). 

Faders pro tools

Keeping the peaks of your tracks 6 dBFS below or at unity gain can protect against that extra loud snare hit or that singer who’s screaming at the end of a line. 

Leaving that headroom can also help you in the mix. Tracks can build in the recording and you can end up with a lot to manage. These extra tracks build up in your master bus leading to extra volume and clipping. Having the option to push certain instruments as well as to lower them will make everything in your mixing life easier.

3. the king of tone

Stratocaster guitar modification

You’ve just spent your hard earned cash on that expensive distortion pedal that you’ve been saving for and can’t wait to record it on a new track. You sit in the room recording the track thinking “Wow that guitar tone sounds great” but then you listen back and suddenly find this muddy wall of sound is ruining your mix. What happened?

A lot of the time things will sound better when you’re in the room. That sound you get may not translate well on to a recording. When getting the tone of an instrument you’ve got to consider what is best for the overall recording and not just the single instrument. If your guitar has too many low end frequencies it can interfere with the bass. If there are too many mids your snare can disappear.

Taking time to find the tone to suit your recording can make the difference between a good mix and a great mix. Don’t just stick to one tone. Try different pedals, amps, and guitars. Try a different microphones and microphone placements. Choose a different keyboard preset or make your own! It will add extra time to your recording but it will be more than worth it when it comes to the final result.

4. Check your sources

Nothing is worse than a problem you can’t solve. You’ve used eq to death, compressed the hell out of it and gated the excess but that snare still sounds like someone hitting a frying pan. Some problems can be impossible to solve but they can also be prevented.

Recording drums

To help you in mixing your want your instruments to sound as close as possible to the final product. If your punk track wants a punchy kick then spend the time to position your mics close to the kick and get that punchy sound. If you want that close feel get your vocalist to sing close to the microphone. You can even do test recordings of instruments to see if you’re happy with the sound you’re getting. If you’re not happy then change the microphone, change the pre amp and maybe even change the instrument.

Taking your time to find the right sounds at the initial recording can save you many headaches later on. It’s better to spend 80% of your time perfecting your mix rather than 80% of your time correcting it.

5. Padded walls

Padded walls recording studio

The great studios of the world spend hundreds of thousands of pounds on acoustic engineers to design the perfect live spaces in order to get the right acoustic balance. Artists will spend months picking the right studios for their album in order to get the perfect sound.

Although you may not have that kind of budget you can do some small things to treat the room you’re recording in. You can make DIY treatment by using acoustic insulation in a simple frame wrapped with fabric for a relatively cheap price. You can go even cheaper using duvets and curtains to provide a cleaner sound in your recording. Any acoustics of the room you are in are going to translate into your recordings so removing any unwanted room acoustics will help give you more control and a better sound. Using this treatment will also help to isolate your instruments giving you even greater control.

6. TUNe! tune! tune!

Have you ever heard the drunken warbling of karaoke at 3 am and thought that they deserve a record contract? No, neither have I. Make sure that before you record anything your instrument is in tune. At the start check the tuning. Before every take check the tuning. Change strings and check the tuning. 

Tuner recording studio

Make sure that you are perfectly in tune before you even press that record button. You can get carried away with the whole recording process and easily forget after a few takes but it is a vitally important step.

Although you can correct some tuning problems after the fact (i.e. vocals) it’s something that can easily ruin a song and make you look like an amateur.

7. Sweet monitors bro!

studio monitors

Although the best studio monitors used to only be the reserve of kings they are now not only in the reach of us mere mortals, but they are of comparable quality to those studio behemoths. Monitors are the most important piece of equipment in the studio. 

It is what presents your music in a clear and honest way. It is the vessel in which your music is created. Having a level frequency balance and a better listening position will help determine problem frequencies and get the best sound from an instrument. Studio quality headphones and monitors will give you accurate feedback when recording. The better you can hear the better the performance given will be.

8. take 237!

Back in the days of tape you had to record everything in one go. If you made a mistake going into the chorus you had to either stop and start again or live with it forever. The limitations of tape meant that you only had so many attempts before you degraded the tape and everything was lost.

clapper recording

In our modern world however, you can record as many tracks as you like and can record for any amount of time. You want everything in your track to be perfect including the timing. Take your time. If you can’t do everything in one take then break it down and record it section by section. Record the part 2 or 3 times and then select the best takes, edit them together and get the perfect part.

There is no rush when it comes to perfection. Take as many takes as it needs to make it the best song you can.

9. Preparation is key

recording studio checklist

What is audio 1-23? Which track did I do the guitar part on? What is going on here! Those who fail to plan, plan to fail is the best mantra you can have when recording. Labelling everything from the start will not only help to make the recording process clear but it will make the mixing process clear as well.

Making an instrument check list will help you see what you have recorded and what you have left to record. Lost a great take somewhere in the confusion? You’ll be able to find it because everything is clearly labeled. You’ll be able to bring back take 23 of the guitar and put it right back in the mix.

It can also serve as a memory trigger to see what equipment you used to record with. If you write the instrument followed by the microphone followed by the name of the player it can clarify what you’ve done in the past making it simple to recreate (or simple for who you’re going to blame).

10. save! save! save!

It’s easy to get carried away with what you’re doing. When you’re in the moment and having so many great ideas you think nothing can stop you. But then your computer decides that your session is over and the last 3 hours of brilliance is lost forever.

Floppy disk save

Save as often as you can! Recorded a new part? Save. Edited a drum fill? Save. Need to go to the loo? Save. The best way to avoid the heartbreak and disappointment is to make sure you regularly save your work.

As with anything on your PC it’s also best to back up to another device just to make doubly sure that your work is never truly lost.

Have more questions? You can check out our FAQ page or contact us

You can also check us out on Facebook and Instagram for the latest updates

Leave a Comment

Your email address will not be published. Required fields are marked *